Saturday, March 2, 2013

POST 15- Interlude

Well, my concrete guy has been delayed by weather, but is saying we can still hit our 3/10 deadline without worry.  We went out and played around a little bit, Josh and I took a machete and made some nice paths in through some of the thick scrub on the back side of the slope from where the house will be.  Here's the dog, just coming back from a wild day of finding and rolling in strange poop back up the mountain.  You can kind of see the beginning of the new trail there, the gap in the woods behind her.  I'll get some better trail pictures up in a day or two.


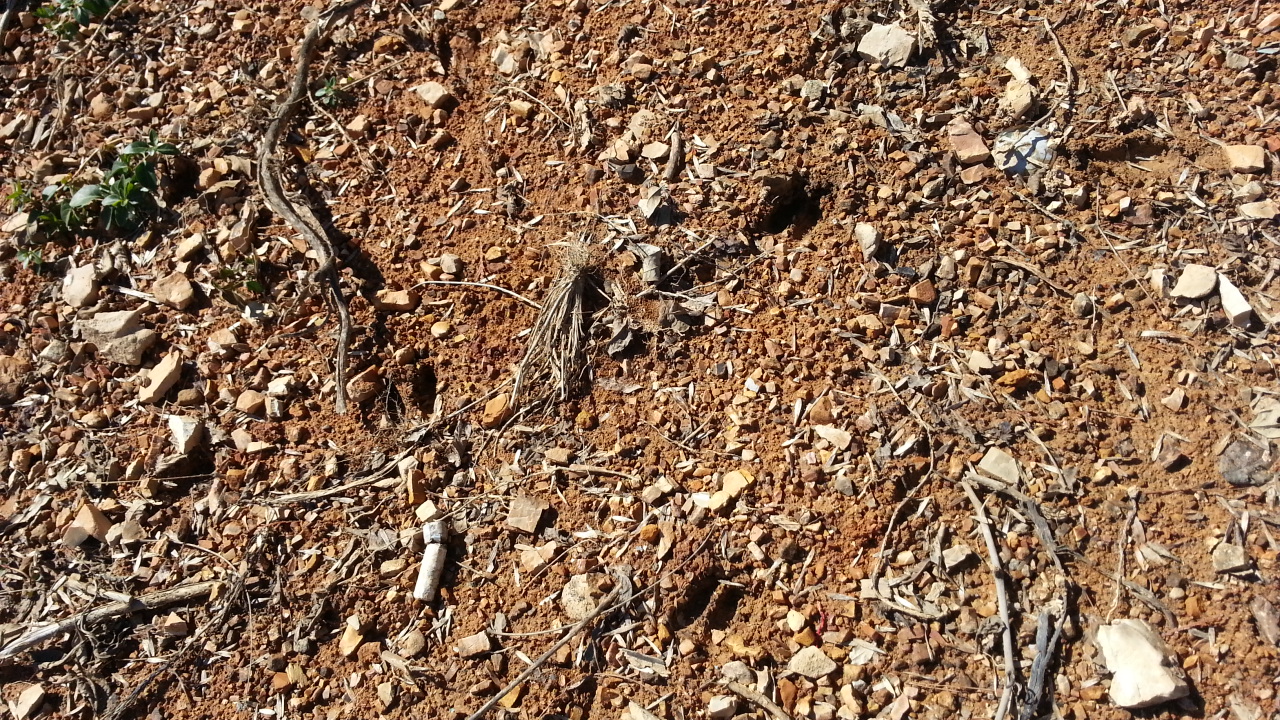
Here are some (very fresh) deer tracks.  They're bigger than they look, this is probably from a buck.  I've got at least 3 good runs where they come down through the land...should be interesting during hunting season :)


Here are some pretty flowers.  They're growing on the hill, but not too far back.  I'm not sure what kind they are, but they're pretty.


Josh and I also used some of the larger branches we cleared out when making the trails to make a little teepee frame, we're going to build him a little man-fort up the hill a ways.  We had a lot of fun making it, I'll get some pix up next time we're out and after we put a skin up around it.

Tuesday, February 19, 2013

Post 14- Grading done, ready for concrete and plumbing, pix

Looking from the top of the excavation to the turnaround, looking left.  You can see a rough layout of the Guest Cottage, in orange spraypaint.


Here's a closeup of guest cottage site, roughly accurate dimensionally

 The bucket to the right is roughly in the center of the homesite.
Here's the turnaround, prior to full gravelling.  It's about twice as wide as before, not that on the left it dips down: this is so that the water is diverted from the house/driveway into the small valley on the other side.


 I spoke with my concrete guy and he's starting either 2/20 or 2/27, depending on the weather.  We should be right on schedule.  There were 2 apple trees right in the area that we were excavating, too.  We transplanted them into the front yard, one a bit to the left and one a bit to the right.  Here's a pic of one of them:


Wednesday, February 13, 2013

Post 13- Grading Progress, concrete guy #2, lotsa pix

I met with contractor #2 this morning, and was pleasantly surprised to see that my grading guy had got in another 6-8 hours on clipping out the area that the guest cottage will be on and building up the turnaround. It looks as if he's only got a day or two left on it.  After that, we'll be ready for the slab.  We've both decided we like the "mint green" concrete dye, so we'll have that mixed in with the concrete truck before delivery and have a nice green concrete floor.

So, without further ado, here's a bunch of pix:
His machine is parked right about where Josh's bedroom will be

We're using the dirt to build up the turnaround. Those logs there will be put to good use, and a couple more too.  We're also thinking that "the turnaround" will eventually be "the pole barn".


 You can see the remaining bit he needs to cut out: the orange line there...


The Appalachian Mansion is doing well, but due to all the grading, and the rain, it's a bit of a mudpit as you get away from the camper.  Glad we put that sidewalk in!


I'll be meeting up with my 3rd and final concrete guy soon, so more to come later!

Monday, February 11, 2013

Post 12- Permits, grading, concrete bids, and Appalachain Mansion improvements.

Well, we got the building permit!  (posted on the temporary power pole there, the yellow paper)  The lady at the county office for the permits loved the design, which is good because we like it too and that's what the permits say I'm allowed to build now.  They approved my house designs and handed me back a copy with about 12 engineering "red stamps" with specific criteria to follow on it: mostly common sense stuff like "you should support load bearing beams" and whatnot, but with a little more specific detail.

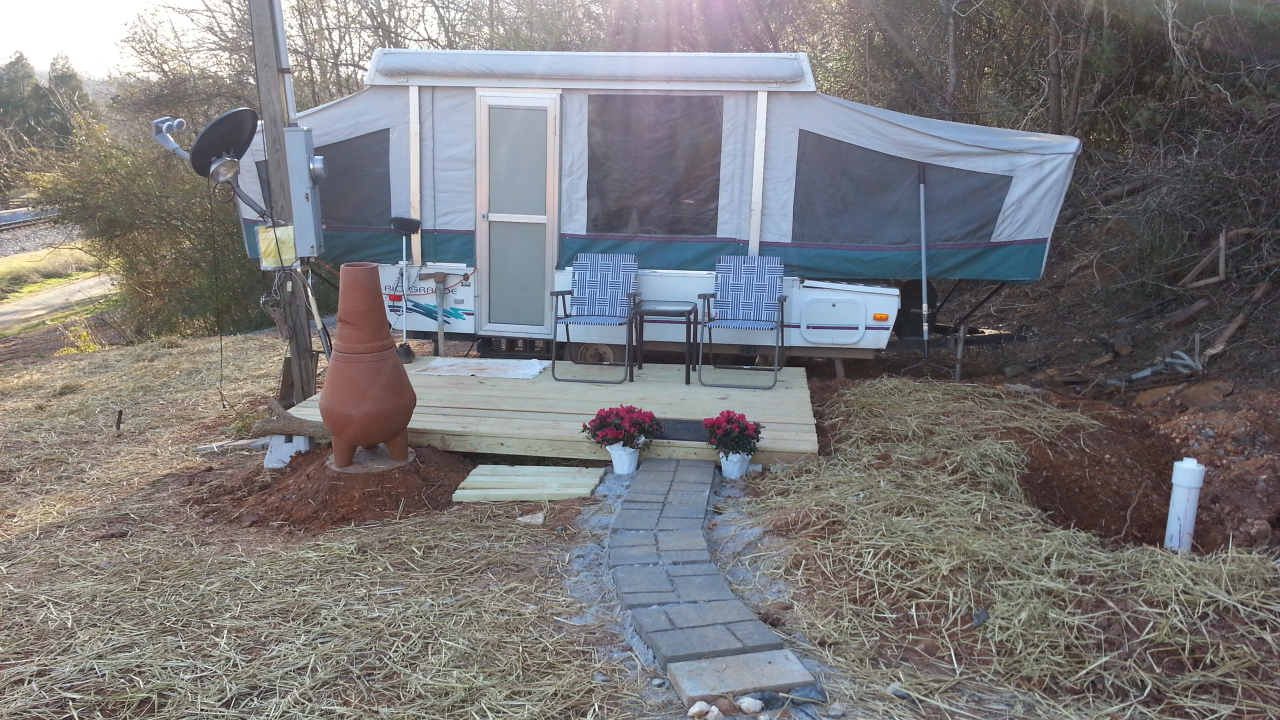
We also spent a little time dressing up the Appalachian Mansion (tm), and camped out all weekend.  It was very nice!  The sidewalk is a few "cobblestone" design paving stones, put on an underlayment and tamped down, with a few  bits of stone and sand shoved in the gaps where it turns a bit.  

The chimenea was a GREAT addition.  That little stand that it's on is trickier than it looks: it's a large chunk of roundish concrete (recycled) about 4-6" thick, piled with some clay on top to give a bit of height.  On top of the clay is a round metal something or other (also recycled) that fits the base of the chimenea nicely.  Note on Chimeneas: there is an instruction manual, you should read it before lighting a bonfire.


Another view below, at a bit of an angle to the left, and another below from the deck.


Fresh racoon tracks!  This is from the area we've started grading.  I took this picture this morning, so these are super fresh.

I saw the above tracks when I went back out this morning to meet with 1 of 3 concrete contractors who will be giving me a bid on my slab.  I'm figuring right about 10 yards for the slab, erring a bit on the side of overkill.  I'm not going to skimp on the slab: going with 25% stronger concrete, and about 20% more than would normally be used on a pour this size, everything tied together with steel (of course), and steel expansion joints set from every outside corner to every inside corner of the Atrium (so it will look like a 6 slice pie, kind of).  Also, I think we've decided on "Mint Green" for the concrete color.  It'll be a full dye mixed in with the concrete, as opposed to the surface dyes or acid washes, so the whole slab will be that color.

I need to get one inspection before the slab (tying in all the drain/water lines, etc), but then it's time to pour.  I expect to have all 3 bids in by Wednesday this week, which should be just about the time my guy is finishing up with the grading he's doing for me.

As a side note: I need a dozer/backhoe/bobcat or something.  I will definitely need one to make the driveway go up to the top of the land, and at that distance it's getting to the point that it'll be cheaper to just find a good used piece of heavy equipment than to pay someone to do it for me.  That is not a priority for the Guest Cottage though, so it can be put on a back burner.

Monday, January 28, 2013

Post 11 The FINAL (no, we really mean it this time) DESIGN PLAN!!!!

Since Post 10 we've been flooded with demands to see the final design of the Guest Cottage.  Remember, this is what we're going to live in for a few years while we build the big house.  

Also, if we're being completely honest I suppose that "flooded" may be stretching it a bit since really it was just one person and the "demand" was more in the form of mild polite interest.  Semantics!

Here is the new, improved, super duper final, we really absolutely do mean that this time, final final Guest Cottage Design:


With the hexagon shape, we can have 3 south facing walls for the passive solar heating (and plants) which will be primarily glass and should make the room feel significantly larger.  There will be a planted hexagonal feature in the center of the room (grass, herbs, a tree, veggies, something growing) on the main floor level.  Skylight in center of roof will open, and by opening north windows should provide good passive cooling as well during the summertime (hot air goes up, pulling in cool air from the north side).  Loft area will cover half of the floor plan, leaving half open from floor to ceiling (18-22') for a nice open effect as well.  Each of the windows along the front wall will have an 18" wide planter in front of it for plants and veggies.

Ideally, it will feel very open and connected.  We'll be collecting rainwater as well, and using it for washing and watering (and, drinking if necessary).  More to come, need to get the permits and then the slab poured.

Post 10- Back to Work!!! Shed Love, Deck Accomplished

Well, I guess it's been a little bit since I've kept up with this, eh? December went by in a rush: I worked a lot during the  first part of the month, and then went to Hawaii with the family for an AMAZING cruise.  It's taken me a little bit to get back into the swing of things.  Heather started, and I finished, cleaning out the old shed that's on the property, so now we've got a nice place to store stuff that's (mostly) waterproof.

I had some pictures of that, but lost them because of faulty hardware.  We pretty much filled up a big construction dumpster.  So, it was such a nice day when I was finishing up I got the brilliant idea to build a deck for the camper.  Woke up the next morning, took the wife to work so I could steal the van and went and bought some tools and lumber to start.  I got out to the site, started leveling out the (large) pile of dirt, and it started sprinkling.  It made a pretty good mud pit pretty quick.  I was able to make 3 of the 5 cuts I needed before it came pouring down.  Very frustrated, I grabbed all the lumber and tools, loaded everything back in the van and took the lumber back to my house so it wouldn't get stolen.

There it sat in my living room for about 10 days, and we had rain for 10 days straight.  Last week, it cleared up for a bit, so Jacob and I rushed out and finished up the deck right quick.  Here's a few pics!


Deck Accomplished!  Welcome to the Summer Home, the Appalachian Mansion.  Banjo music provided.


Woohoo!  We're still planning on moving out in March-ish, so if we're not dried in on the house yet we'll have a little more room if we move out into the pop up until we've got the house sealed up.  The deck, by the way, is portable and lifts right off those foundation blocks.  I'll recycle it onto the guest cottage when that's up :).

Oh, speaking of the guest cottage...we have a Final (no, really) Design, but I'll put that in post 11.


Thursday, November 22, 2012

Post 9- Thanksgiving, Mom and Dad, Trailer Denial, and a cold weather kayak test! (pix)


Here's a rough layout of the slab/base of the house, the 6 bricks form a rectangle that's (fairly) square and facing due south.  Dad and Mom came up, which is always fun.  We pulled over the pop up and set it up...power and all the amenities, woohoo!  After some discussion, we decided not to get the 5th wheel.Mom cleaned up the inside a little


Dad, outside after we got it levelled and powered up.  Mom has to work on Thanksgiving day, so they left and made it home safely Wed night.  It was really nice to see them and hang out, and it was Dad's birthday on Monday.  The boys slept out on the land with my parents the last night they were here, that was neat.  They all said it was pretty comfy.


Thanksgiving Day: Heather needed some gloves for her 10k this morning, and I decided to try out kayaking.  It's cold, cold this morning, but while I was in the closet looking for gloves, I found an old rainsuit which gave me an idea...   Here's the mist on the river in the morning


So, I've been wondering about how to kayak in the cold.  The main thing is keeping my bottom dry, because I don't use a skirt on the 'yak usually.  I looked into (and then quickly out of) getting some "dry pants": they're way too expensive for me, but I get the idea...so...here's my improvised dry pants...total cost $12 to make.  Hey, it looks silly, but my socks and butt were dry when I got done!

Keep laughing, it's $190 less than a pair of actual drypants though...

Here are some nice river pix, off the clinch river early morning:


Nice day.  Meeting up with the crew in a bit to hike and possibly eat.  More to come!